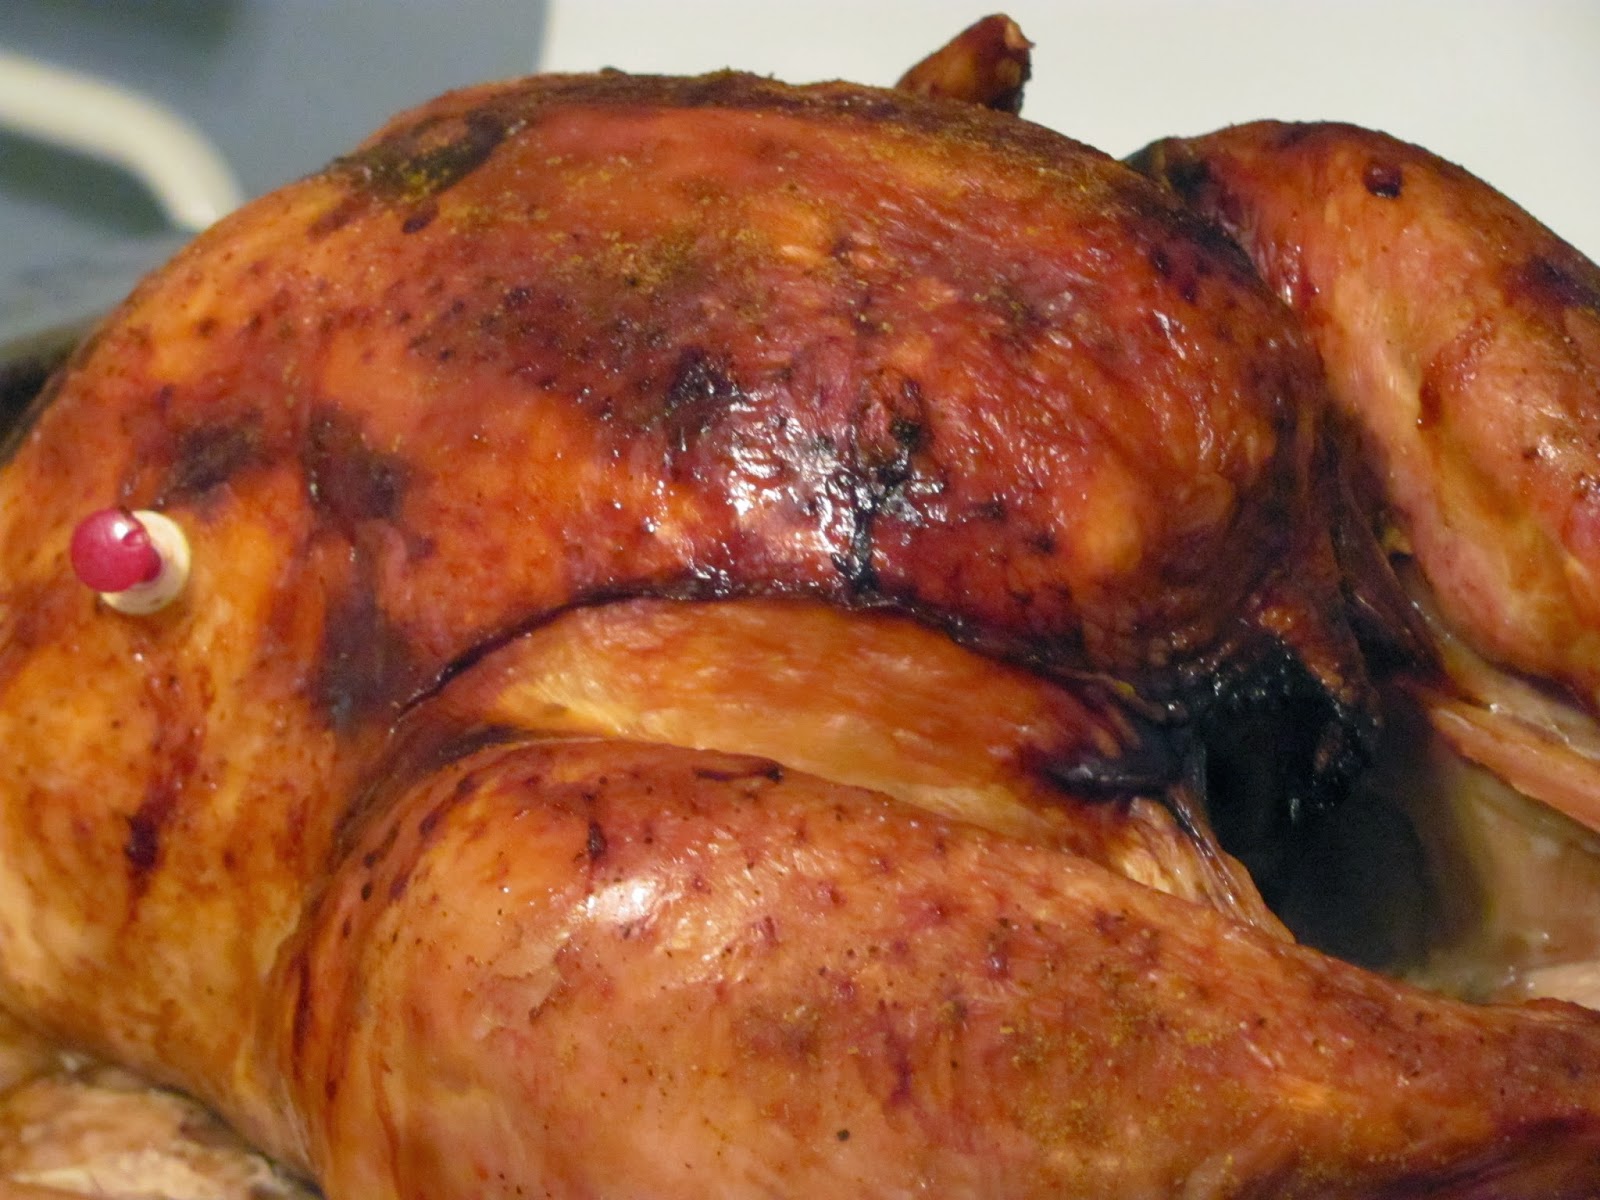
Here’s the turkey that
I cooked:

1 Honeysuckle White young turkey, with the pop up timer,
appx. 13-15 pounds
Now I had never cooked a turkey before. My mom only cooked them at Thanksgiving, and I
was usually busy with other things, food wise, at that time. Also, now my mom was a great cook, but I
never cared for her turkey. Hubby and
me, it’s just the two of us, so we usually had something else.
This year we were given the turkey, and so I thought, “Good
time to try my hand at cooking a turkey, since it is free.” I mean, I wouldn’t mind messing up on it if
we got it for free. So while the turkey
thawed in the fridge, I formulated my plan.
Also, since we don’t have a lot of freezer space, I opted for going
ahead and thawing it and cooking it.
The pan that I used.
Back in the good old days, a new stove would at least come
with a broiling/roasting pan. My
roasting pan was given to me by my mom.
She had one from a newer stove, and when I got married, she gave me the
broiler pan that came with her first stove.
It’s a beauty. It’s old, and well
used; stained and scratched - but boy does it cook. And that is the pan I used.
 |
| photo taken after cooking turkey |
All the instructions say use a rack, but I didn’t have one;
and didn’t have enough aluminum foil to try to make a substitute, so I opted to
do without one.
Prepping the pan.
I gave the pan a more than generous coat of canola oil, then
I poured a little bottled spring water in the bottom of the pan. It’s been my experience that this helps out
greatly with cleanup, and adds moisture to the meat you are cooking.
Prepping the turkey.
Make sure your turkey has been properly and completely
thawed in the refrigerator. You turkey
package should have a chart telling how many days for what weight. I did 4 days for a 13-15 pound turkey.
When I unwrapped the turkey, there was a lot of fluid in the
package to drain. What I recommend now,
rather than what I did, is to poke a small hole in the bottom of the drumstick
end of the turkey package. Be sure you
are over the sink when you do this, and drain out the liquid. Be sure and have your other sink or counter
lined with a clean, unused plastic garbage bag and paper towels; as a place to set you drained turkey.
Remove the plastic wrap from your turkey. Remove the neck and giblets which should be
inside or in the front of the turkey. We didn't use the giblets and tossed them, but I did opt to cook the neck in the same pan with the turkey; and since my pan was prepped, I put the neck in a corner of the pan.
I rinsed my turkey just under running tap water, and I let
it run inside, and then dumped it out several times; till the water ran out
pretty clear.
Now most directions say pat the turkey dry. I chose not to do this.
I held it butt side down, over some plastic, and let any other
water drip out; then I put it in my pan.
(Remember, I opted for no rack.)
The package instructions said to rub it with some oil, so I took a
squirt bottle of oil that I keep, and rubbed the upper surface with a bit of canola oil. Then I sprinkled it very generously
with balsamic vinegar. Next I sprinkled
it very generously with worcestershire sauce.
Then I gave it a light sprinkle all over with curry powder. Next came a light sprinkle with salt and
pepper.
While I was doing all this, my oven was preheating to 325
degrees.
Cooking the turkey.
Cooking time, both on the package and in my Better Homes and
Gardens cookbook, was determined by weight.
Now your turkey should state the weight, but in case it doesn’t, you can
do what I did if you have a digital scale.
Stand on the scale without the turkey, and record your weight; then
stand on the scale with the turkey, and record your weight. The difference between the two weights
will be the approximate weight of your
turkey.
The package said cook it 3-4 hours, and the cookbook said
4-5 hours. I have a digital timer that
has 2 timer settings, so I set one for 3 hours and the other for 4 hours. So into the oven the turkey went, and the timer
was started.
After about an hour and a half or so, the top started
getting pretty brown, so I followed instructions and put a tent of just regular
aluminum foil over it. And this should
be loosely; not tightly wrapped.
I let it cook for about 3-1/2 hours total. This bird had a pop up timer, and that had
popped up. I highly recommend these, as
mine worked fine.
Then we took it out, I took my pictures, and the eating
commenced. The neck turned out well too, and my hubby enjoyed it very much.


The eating and
storing.
It turned out delicious, and looked like all those photos you always see of a turkey. The skin was a golden brown, and had a slight crispy crackle when you first cut into it. The meat was juicy and flavorful and tender. My husband commenced to eating and foundered himself, and is
asleep in the living room as I write this.
I really enjoyed watching him enjoy eating it. He particularly loved the skin.
Since it is just the 2 of us, and this was just for us; not
for a dinner or gathering - I went ahead and removed all the meat off the
turkey and put it in plastic tubs in the fridge. I put the skin and fatty parts in a separate
tub, as hubby likes those and will eat them.
Then I took the remaining bones and put them in a ziplock bag in the
fridge, because: 1-hubby might want to
pick over them as he likes to do that; 2-save them for garbage day.
And that's that. My first turkey cooking was highly successful, and now we have yummy leftover turkey to munch on.
If you are cooking for one or two, like me, there's no reason why you can't have your traditional turkey. You can always freeze the turkey meat up for future meals. One or two people can do a lot of eating off of one turkey.
I hope you have a wonderful Thanksgiving holiday,
that your turkey and fixings turn out beautifully,
and from hubby and me,
we send all the best to you and yours!
Happy Thanksgiving!